Workflows
Pixelstack’s Workflow feature lets you automate the entire design-generation process. Instead of manually filling every variable or repeatedly calling APIs yourself, you can build a visual flow of nodes that do the work for you.
A workflow lives inside each design. When a design is rendered, Pixelstack executes its workflow first, then feeds the produced values into the design variables, and finally renders the final creative.
How a workflow works
- Nodes – small building blocks that perform a single action (fetch an URL, generate text, pick an HTML element, create an image, …).
- Connections – arrows that pass the output of one node to the input of another.
- Variables – named values stored by Variable nodes. Any node can read a variable or write to it. Design layers can reference these variables via their ID (e.g.
{{image-url}}).
The result is a directed graph of operations that turns a few input parameters into fully-populated variables for your design.

Opening the Workflow editor
-
Open the design
Open your design in the Pixelstack editor.
-
Launch the Workflow editor
Click the Workflow button in the header.
-
Start building
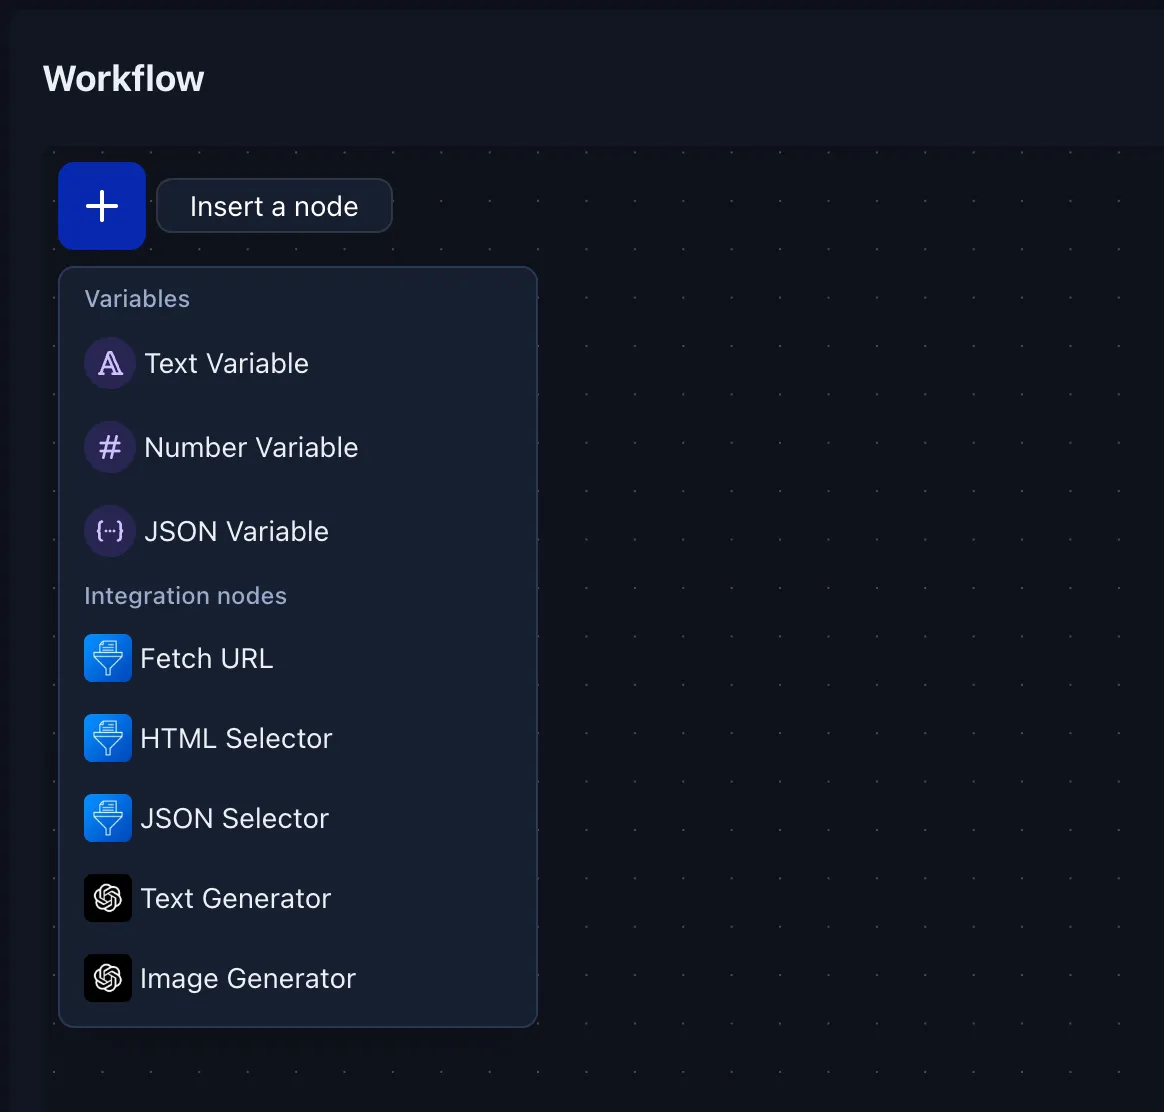
The visual editor appears. You can now create, move and connect nodes just like on a whiteboard.
Node types
Pixelstack ships with several native nodes and can be extended with integrations that add their own nodes.
Native nodes
| Node | Description |
|---|---|
| Variable | Declares a variable of type String, Number or JSON. The value can come from another node or from a URL parameter. |
| Fetch URL | Retrieves the raw HTML/JSON/text from any public endpoint. |
| HTML Selector | Extracts specific data from an HTML string using a CSS selector (works great after Fetch URL). |
| Transform | Perform basic data transformations (coming soon). |
Integration nodes
Installed integrations can register their own nodes (e.g. OpenAI, Notion, Shopify, Airtable, …). Those nodes behave exactly like native ones and can:
- expose inputs (parameters you pass in)
- produce outputs (values you can use elsewhere)
Refer to the Integrations documentation to learn how to install or build custom nodes.
Using variable nodes
When you add a Variable node you will be asked for:
- ID – the unique name, e.g.
image-url. - Type –
string,number, orjson. - Default value (optional) – used when nothing is provided.
The variable’s value can be:
- Set by other nodes – connect the output of any node to the variable’s value input.
- Provided via URL parameters – append
$variable-id = yourValuewhen requesting the design image (note that variable IDs are prefixed with$). Example:https://cdn.pixelstack.io/team123/design123 ?$image-url = [...]
The$image-urlparameter will automatically populate theimage-urlvariable inside the workflow.
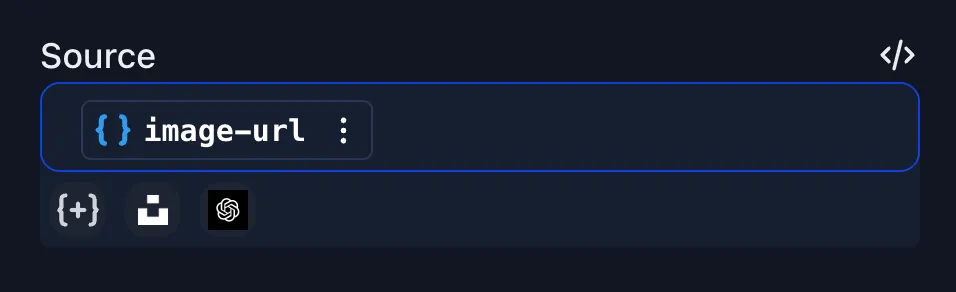
You can freely use variables inside the editor.
For instance, set an image’s source to {{image-url}}.
Example: building an event badge workflow
Below is a simple workflow that generates event badges based on the attendee’s profile page:
- Variable
profile-url(string) – value is read from the query string. - Fetch URL – fetches the HTML of
profile-url. - HTML Selector – extracts the
<h1>text → output to variablefull-name. - HTML Selector – extracts the
.job-titleelement → output to variablejob-title. - HTML Selector – extracts the
.profile img’ssrcattribute → output to variablephoto-url.
The badge design can then print {{full-name}} and {{job-title}}, and show the attendee’s picture from {{photo-url}}, all automatically populated from the profile page.
![]()
Tips & best practices
- Use descriptive variable IDs (e.g.
hero-image-urlversusimage1). - Keep related nodes close together to improve readability.
- Workflows are type-safe: you can only connect compatible types.
Extending workflows
Want extra powers? Build or install an integration that registers new nodes. Your workflow will instantly list them in the Insert Node menu.
Workflows turn static designs into living templates – automate once, reuse forever! 🎉